This article will show you how to connect your existing Amazon Seller Pro account to ChannelUnity.
To start, you will need to be logged into your ChannelUnity account.
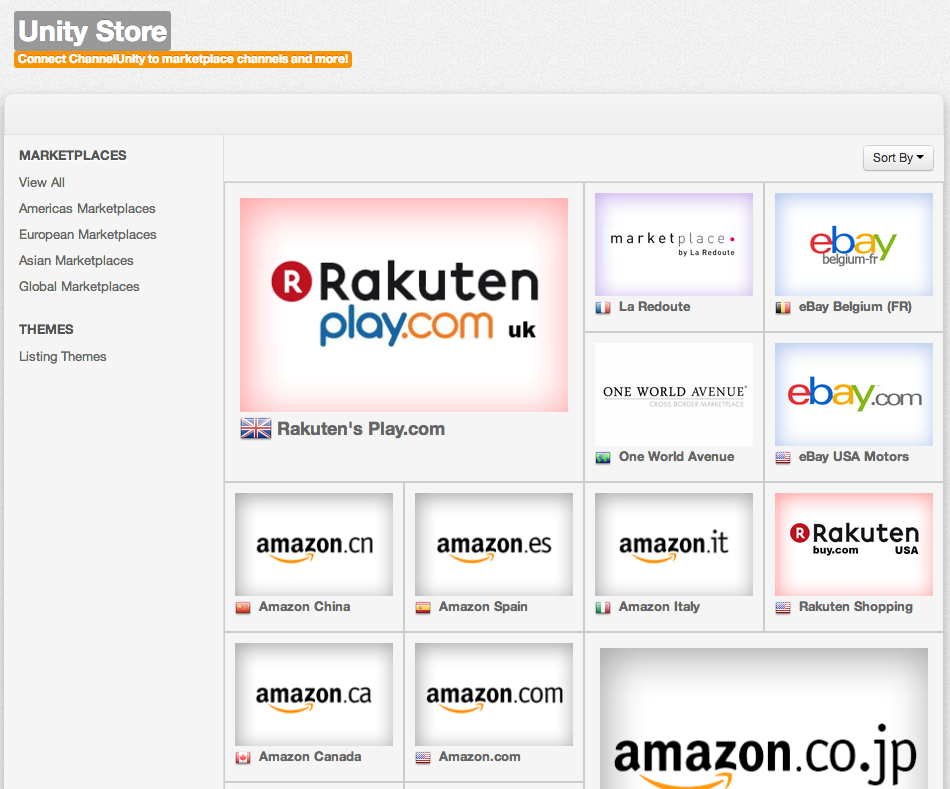
First click on “Unity Store” on the top menu, this should then bring you to a screen that looks like this:
You can sort through the marketplaces we currently support by region by clicking on the Marketplaces menu on the left. In this example, we will be connecting an Amazon UK account, so we have selected: European Marketplaces and then clicked on the Amazon UK icon.
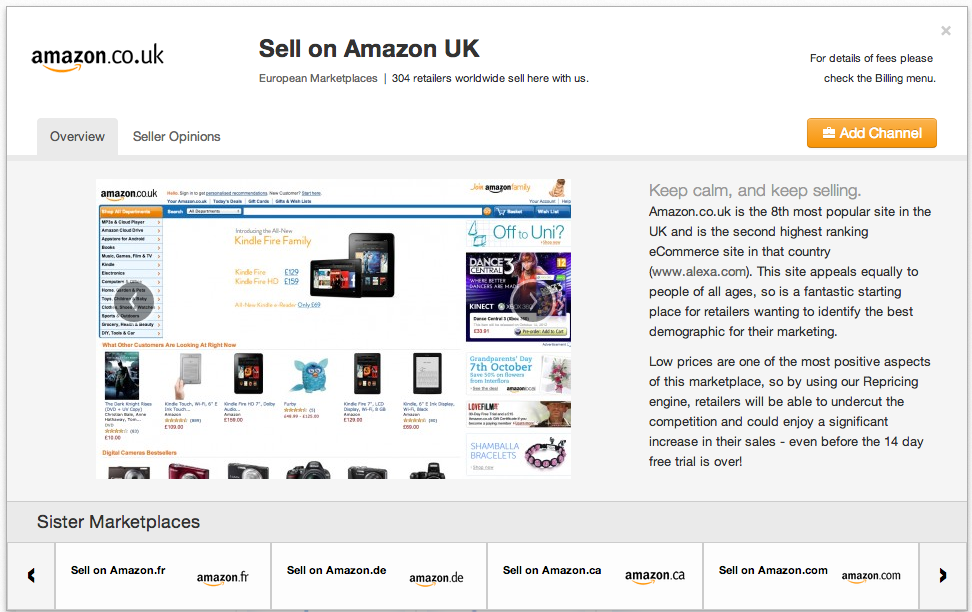
This will then bring up a pop up screen that looks like this, you will need to click on the orange, “Add Channel” button.
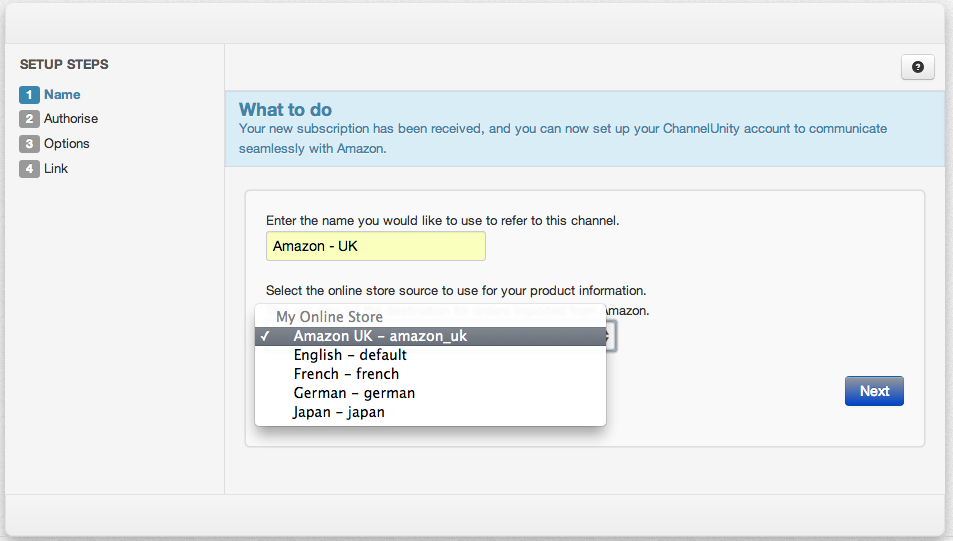
On the following screen you will need to enter a name in which you would like to refer to this channel as (this is not viewable anywhere else except your ChannelUnity listing screen and is only for your reference) If you only have one Amazon account per country something like “Amazon – UK” will be fine.
If your cart offers different store views (to support listings in different languages) then you can map which store view you would like us to get the listing information from here too. For example, if we were mapping our Amazon.fr account, we would select “French – french” for this option.
You will then need to click the blue “Next” icon.
The next screen will appear as below, please click on the green “Click here to redirect to the Amazon website” button.
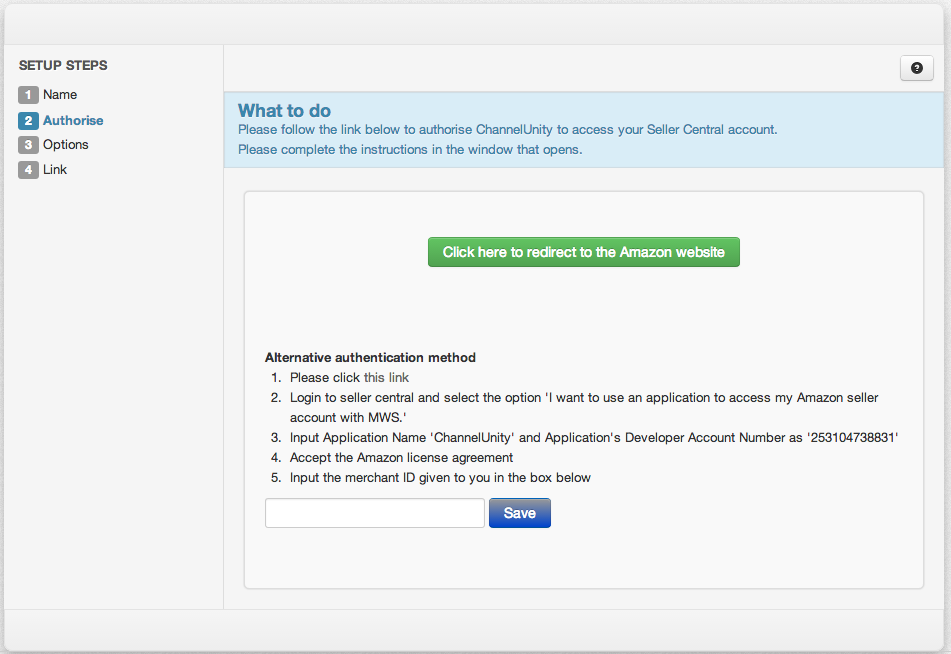
You will then be redirected into Amazon Seller Central. If you are not already logged into your Seller Central account, you will be prompted to login, please login here with your usual Amazon details.

This will then bring you a screen that looks like this, you will then need to click both of the check boxes on the screen and then click next.
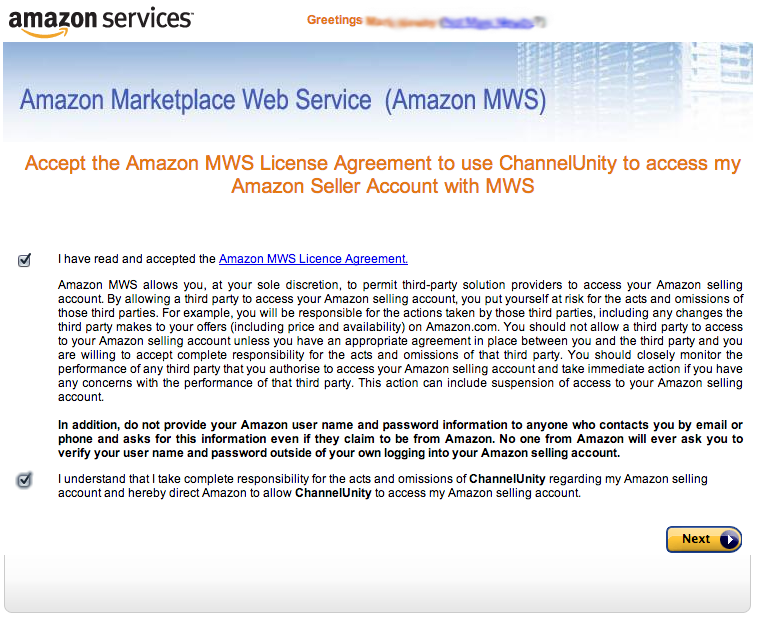
On the following screen, please click “Continue”

This will then bring you back into your ChannelUnity dashboard, you can then go ahead and select your preferred publication options.
You can read more on our publication options here.
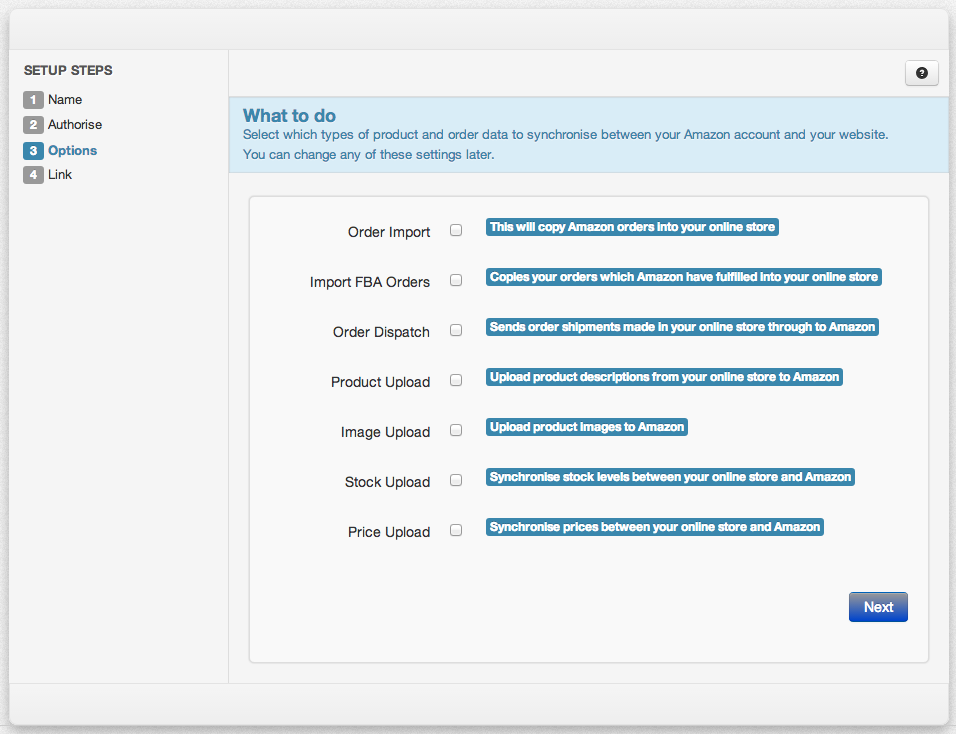
Once you’ve selected your preferred publication options, you will then need to click the blue “Next” icon, which will then bring you to a screen that looks like this.
If you have any SKUs in your cart that match SKUs in your Amazon account, we will connect those listings here. This process can take a short amount of time dependant on the number of SKUs you have, so we would recommend that you just click the main “Listings” menu at the top of the screen to allow this process to run in the background.
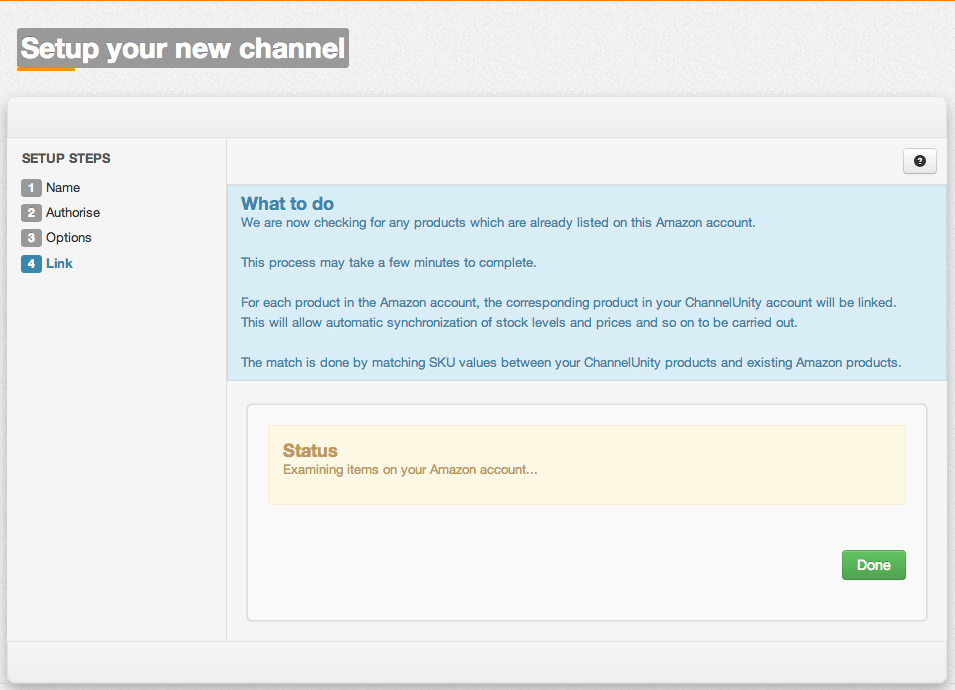
And that’s it! You’ve successfully connected your Amazon account to ChannelUnity.

